
Flat bottom zipper bag = an AWESOME gift! This tutorial is fantastic! The whole website looks like an excellent resource.
The tutorial gives instructions on how to make a pattern for the bags. I had some of that thin tracing paper that patterns are printed on. I saved it from a pattern a couple of days ago, glad I did!

Do you like my Avengers ruler and Little Mermaid pen?
Following the instructions, I made a pattern for a bag that was 17 cm. wide, 11 cm. high, and 4 cm. deep. They made a much bigger bag on the tutorial but I wanted mine to be more like a cosmetic bag.

I chose 2 different fabrics, 1 for the outside of the bag and one for the lining. I know I have interfacing but I couldn't for the life of me find it so I didn't use any. It still worked but interfacing would have made the bag stiffer.

When you are ready to sew you must follow the instructions on how to lay the pieces out. It is very important that you sew the pieces just as instructed or it won't turn out right. Use the zipper foot on your machine to sew around the zipper.

After putting the zipper in I went ahead and turned the fabric right side out and sewed very close to zipper to keep the fabric in place so it will not get caught when unzipping.

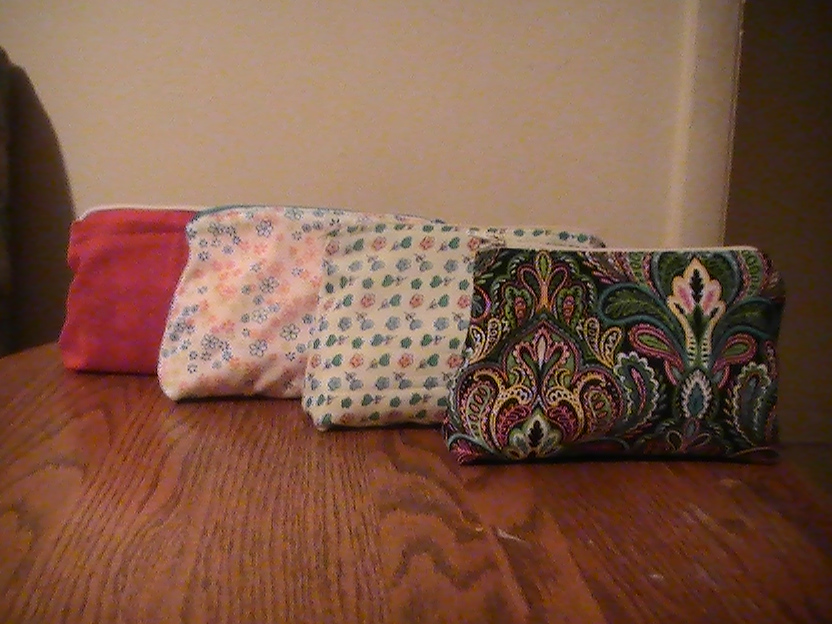
I followed the instructions for sewing it all together and then flipped it right side out and that was it. I couldn't believe how quick it was! I made several of these for the girls stockings.
I will be making a LOT more of these. I think I am going to try a larger one next time, more like a small duffel bag.
Once you make one you will be obsessed too!
Pin It
No comments:
Post a Comment