You will need:
A T-Shirt one size bigger than you want the dress to be
2 yards of material or 4 fat quarters (This was for a girls size 10, you can adjust amount accordingly)
1/2 in. width elastic (enough to fit around the child under the arms)

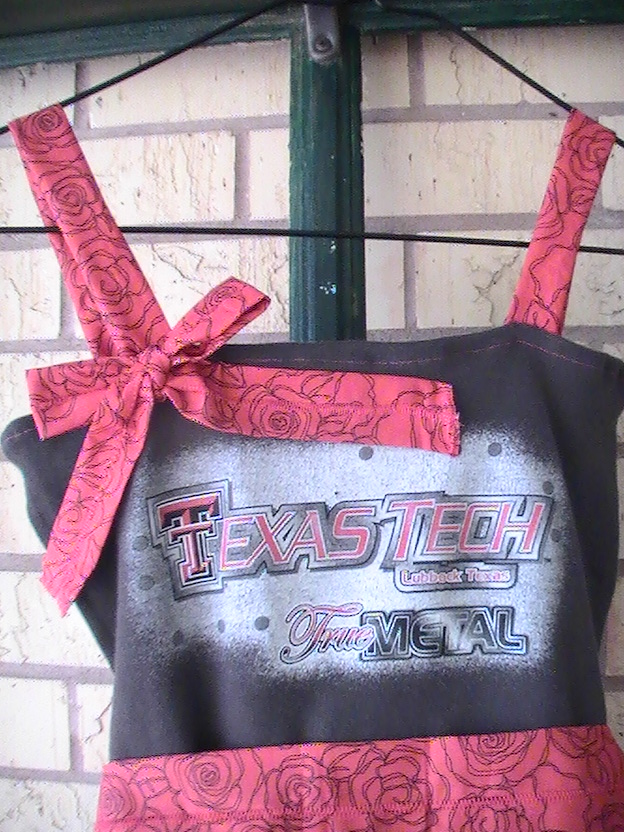
We are Texas Tech fans but where we live Tech paraphernalia is few and far between. Landon just happened to have an old Texas Tech shirt that I thought would work well for the dress. Although, I am still wondering weather or not it will fit Kai a little to tight. I will have to measure her next time we are together.
To cut the shirt: Cut a little more than half way up the middle of the shirt. Cut off the arms, and cut off the neck and shoulders. Cut what you need to off the sides to line them up with the arm holes. You should be left with chest and upper back only.

Sew Shirt: Sew up the sides of the shirt. Sew a large Hem on the top of the shirt leaving a hole to insert elastic. Sew elastic ends together and sew hole closed. Set shirt aside.
Making the skirt: I used 4 fat quarters for the skirt because it was cheaper than buying 2 yards of fabric (only .99 a fat quarter at Wal-Mart!)
Lay the fabric flat and cut 1/4 of each of the fat quarters off. These strips will be used for the sash, straps, and bow.

Next, Sew all 4 fat quarters together lengh wise. Hem. It is easier to hem the bottom of the skirt now than to wait till you have assembled the dress.
Assemble Dress: With the skirt WRONG SIDE OUT place the shirt RIGHT SIDE OUT and UPSIDE DOWN into the skirt. Pin the top of the skirt to the bottom of the shirt being sure to gather evenly. Sew.
(If you chose you can use a basting, and gathering stitch on the skirt instead of pining every pleat. I just prefer to do it this way)

Straps: Take one of the strips that you cut off of the fat quarters and cut the strip in half width wise and then cut one of the halves in half again. The smaller pieces are your straps and the longer piece will be your bow. With right sides together sew each of your straps. Turn right side out. Pin the straps to the front and back of the dress being sure to turn in all raw edges. Sew.
I reinforced the straps, sewing them first to my hem line and also a second time a little higher.

Sash and Bow: Use the 3 long strips that are left for the sash and the shorter strip for the bow. For the bow and sash I wanted a little bit of a different look. So, instead of sewing right sides together and turning to hide the stitching, I folded both sides of the strip to the middle (right side showing) and zigzag stitched right down the middle. This added a little visual play and stiffness.

Sew the ends of the 3 longer strips together so that you are left with 1 long sash. Find the direct middle of the sash and stitch to the direct middle front of the dress. Stitch again an inch on each side of the first stitching. This is the only place I tacked the sash on so not to limit the width of the dress anymore than I had to.

Lastly make a bow with the last zigzag strip you have left and tack on to the top corner of the dress.

This project wasn't exactly a 30 min job. It took me a good part of the day. But it wasn't hard and I really like the result!

Now, some of you may be thinking that I am crazy to make a sun dress for a Christmas gift. Hey, in Texas you can slap on a jean jacket and some boots and you are set for the winter! Hope she likes it and hope it fits!
Pin It
oh my gosh...that is adorable!
ReplyDelete